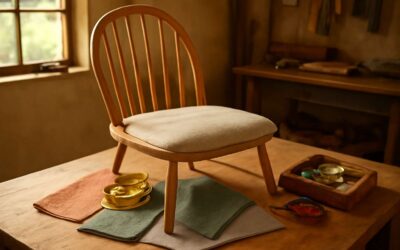
Whether you’re looking to save an old chair from the landfill or to customize it to match your decor, reupholstering your favorite furniture is a great way to revamp and give it new life. And while it can be a time-consuming project, it can also be a rewarding experience, especially if you’re able to repurpose a family heirloom and use it for years to come.
Choosing the right fabric
Before you start any reupholstery project, consider your goals. Is this a one-of-a-kind statement piece that needs an eye-catching, bold color? Or a piece that’s in use all the time and is in need of a refresher?
Once you’ve decided on the type of fabric, it’s time to decide if you want to tackle it on your own or hire an upholsterer. Reupholstering isn’t always cheaper than buying a new piece of furniture, but it can be worth it if you love your chair and are ready to give it new life.
If you’re ready to take on the task, make sure you have the appropriate materials and equipment. Oftentimes, upholstery supplies can be found at your local home improvement store, but you may have to pay more for certain materials like patterned fabrics. And if you’re a beginner at upholstering, you’ll probably need a sewing machine and a staple gun to complete the job.
First, remove the old seat cushion from the frame of the chair. This will give you access to the screws on the underside of the chair and help you to keep the cut lines from becoming distorted by wear. Then gently remove the old fabric from the seat. Label each piece of the old fabric so that you can keep track of which pieces go where in the new fabric.
Next, cut out the new fabric. You’ll need to cut the new fabric to mimic the dimensions of the old seat, as well as to make sure the pattern is symmetrical. It’s important to leave enough space for a few inches of tack strip around the seat edges, which will help you tack the new fabric in place evenly.
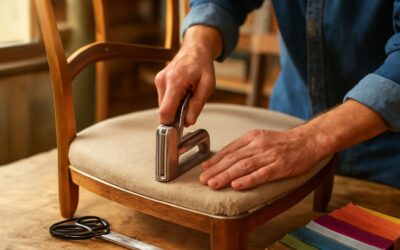
Once you’ve cut the new material, fold it over onto the bottom of the chair’s seat at least 4 in. on each side and center it. You’ll want to tack it in place by driving one staple through the bottom of the seat. Repeat with the back of the seat, then rotate the seat 180 degrees and do the same.
Tacking the fabric is a critical part of the reupholstery process. It’s necessary to make sure the seat is secure and won’t move during use, and it also helps you create a smooth finish. Staples should be inserted every 2 inches, about 1 inch from the edge of the seat.
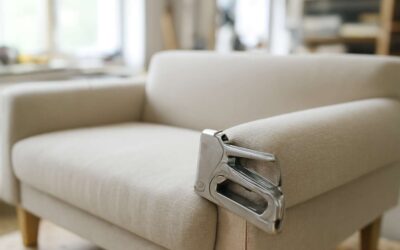
Using a staple gun can be the most effective method of securing the padding, but it’s not recommended for beginners. If you have the proper tools, you can also hand-stitch the new padding to the seat using a thread that matches the old fabric. This method is also much less time-consuming than a staple gun and can result in an even, sturdy finish.

0 Comments