Gathering Essential Tools and Supplies
There is a moment, usually after the third cup of coffee, when the urge to reupholster a chair transforms from a wild idea into a mission. Before you charge into the fabric store, you need to gather your arsenal. I have learned this the hard way, standing with a mouthful of tacks and a sinking feeling.
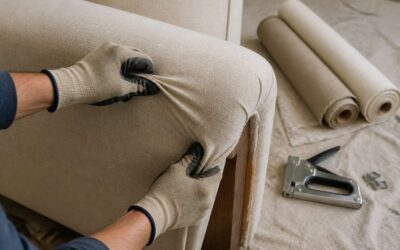
Your first priority is a reliable staple remover. Do not skip this. A flathead screwdriver works, but it will test your patience and your knuckles. You will also need a sharp pair of shears, a staple gun with extra staples, and a webbing stretcher if you are tackling the seat base. The satisfying pop of old staples leaving the frame is a small victory.
For the actual transformation, you will need:
– New upholstery fabric, pre-washed if possible
– Foam or batting for cushioning
– A spray adhesive for securing layers
– A mallet and a tack hammer
Gathering these items feels like preparing for surgery, but the patient is a dusty armchair. It is a messy, tactile process. I promise the chaos is worth it.
Preparing the Frame for a Fresh Start
Almost every DIY enthusiast focuses on the fabric and foam, but the frame is the true foundation of the project. A wobbly or damaged base will ruin even the most beautiful new upholstery. Before you even consider the fabric, you must inspect the bones of the chair.
Start by removing all the old tacks, staples, and webbing. This is a messy job, so take your time. Look for loose joints and split wood.
– Check all corner blocks for cracks and reglue them with wood adhesive.
– Examine the seat rail where the springs attach; it endures the most stress.
– Test the stability of the arms and legs by applying firm pressure.
Any movement indicates a weak joint that needs immediate attention. You can secure these areas with screws or reinforcing brackets. Once the structure is solid, sand down any rough patches or splinters. A smooth surface prevents future fabric tears. Remember, the effort you put into this prep phase will define the longevity of your work. When you are ready to reupholster a chair, this hidden preparation is a non-negotiable step. The finish of the wood matters less than its integrity. Clean off all the old dust and debris before moving on, as a pristine work area makes the task far more manageable. This quiet work is what separates a professional result from a temporary fix.
Executing the Reupholstery Process
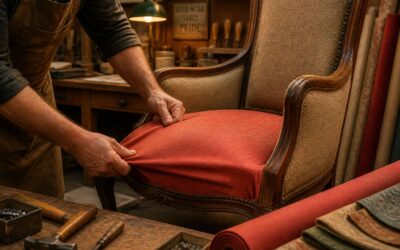
There is a moment when the fabric peels away and the chair’s history becomes visible. Old horsehair, crumbling foam, a forgotten coin from 1962. This is where the real work begins. To reupholster a chair means facing old materials and old mistakes before you can build something new.
I start by removing the old covering, layer by layer. I find torn springs, broken frames, stains that suggest decades of hard living. Before anything new is placed, the frame must be sound.
The process demands patience. You might uncover unexpected damage. A cracked rail, a loose joint, a suspiciously heavy cushion. The list of what could go wrong is always long!
- Check the webbing for sagging or rot
- Re-glue any wobbly joints
- Replace worn foam with fresh density
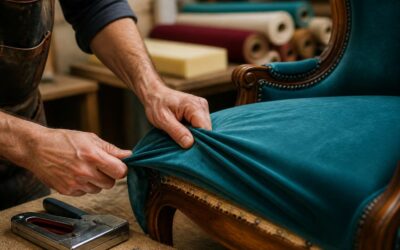
Only then do you lay down the new layers, pulling the fabric taut to reupholster a chair with confidence.
Troubleshooting Common Challenges
Nearly 40% of DIY upholstery projects stall at the first corner fold. The fabric shifts, and you feel the weight of every misplaced staple. To reupholster a chair is to confront your own perfectionism. You wrestle with foam that refuses to fit and seams that wander off true.
- Pattern mismatch where you least expect it
- Batting that bulges over the frame
- Staple guns that jam at the worst moment
Each problem demands a breath. You learn that fabric holds its own tension. The process strips away impatience. What remains is a slower kind of attention.
This is why so many quit halfway. The chair is unforgiving. But settling into the rhythm of pulling and tucking reveals the truth. Nothing fails without teaching you the next move!
Finishing Touches and Long-Term Care
Once you’ve decided to reupholster a chair, the real magic lies in the finishing touches. Trim, piping, and button tufting can transform a simple frame into a statement piece. But the journey doesn’t end when the last staple is placed. Long-term care ensures your hard work pays off for years.
Here’s what I’ve learned from my own projects:
1. Vacuum the fabric weekly using a soft brush attachment.
2. Rotate cushions every month to distribute wear evenly.
3. Keep the chair out of direct sunlight to prevent fading.
4. Treat spills immediately with a clean, damp cloth.
These small habits protect the upholstery and preserve the chair’s structure. Remember, the fabric you chose tells a story. Let it age gracefully with consistent attention. After all, to reupholster a chair is to give it a second life, and that life deserves nurturing.

0 Comments